Three ways to build your component library
Generate realistic AI-prototypes that match your brand
Hey, I’m Colin! I help PMs and business leaders improve their technical skills through real-world case studies. Subscribe to paid to get access to the AI Product Circle community on Slack, my full Tech Foundations for PMs course (84 lessons), a prompt library for common PM task, and discounts for live cohort-based courses.
Building prototypes that actually look like your product is one of the biggest challenges PMs face when using AI prototyping tools. In this article, we'll explore three approaches to building a component library that lets you rapidly prototype while maintaining your product's look and feel.
Most AI prototyping tools excel at creating functional interfaces but struggle to match existing design systems. This disconnect means PMs often spend more time tweaking styles than testing ideas. Instead of starting each prototype from scratch, leverage a reusable component library that captures your product's visual language once, then use it repeatedly for all your prototypes.
Let’s dive into the three methods you can use today to build your component library.
Method 1: Screenshots
The simplest approach uses screenshots to train AI tools on your existing UI patterns. While not perfect, it's a quick way to get started without any technical setup.
How it works:
Take screenshots of key views in your product
Upload them to an AI prototyping tool (like Bolt, V0, or similar)
Instead of asking for a complete page recreation, request a component library: "Build a design system that implements the components from this view"
The tool will generate individual components (buttons, cards, headers, etc.)
Continue prompting to build out additional components
Save this as your master project and duplicate it for actual prototyping
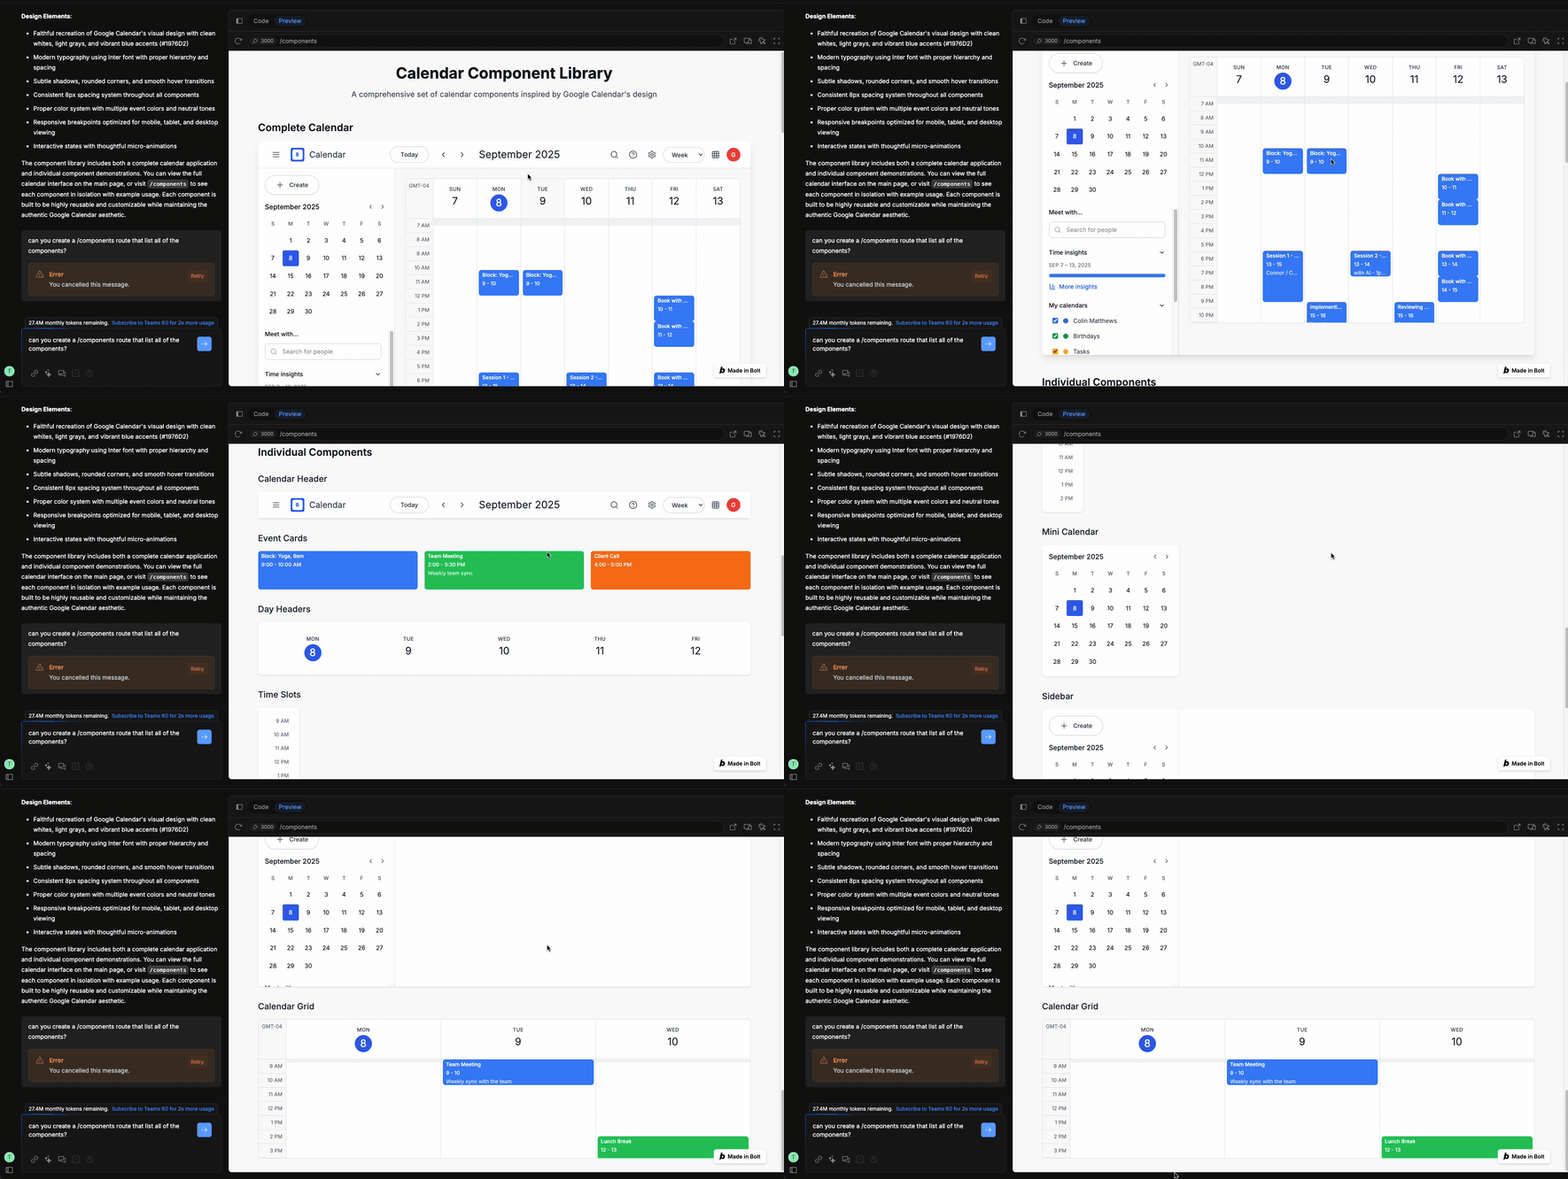
Here’s an example result from Google Calendar – not exactly on brand, but better than nothing.
This works best for simple interfaces and will not match the details of your designs exactly, like fonts and spacing. It’s a quick way to get started but most teams eventually want better quality.
Method 2: Chrome Extension Extraction
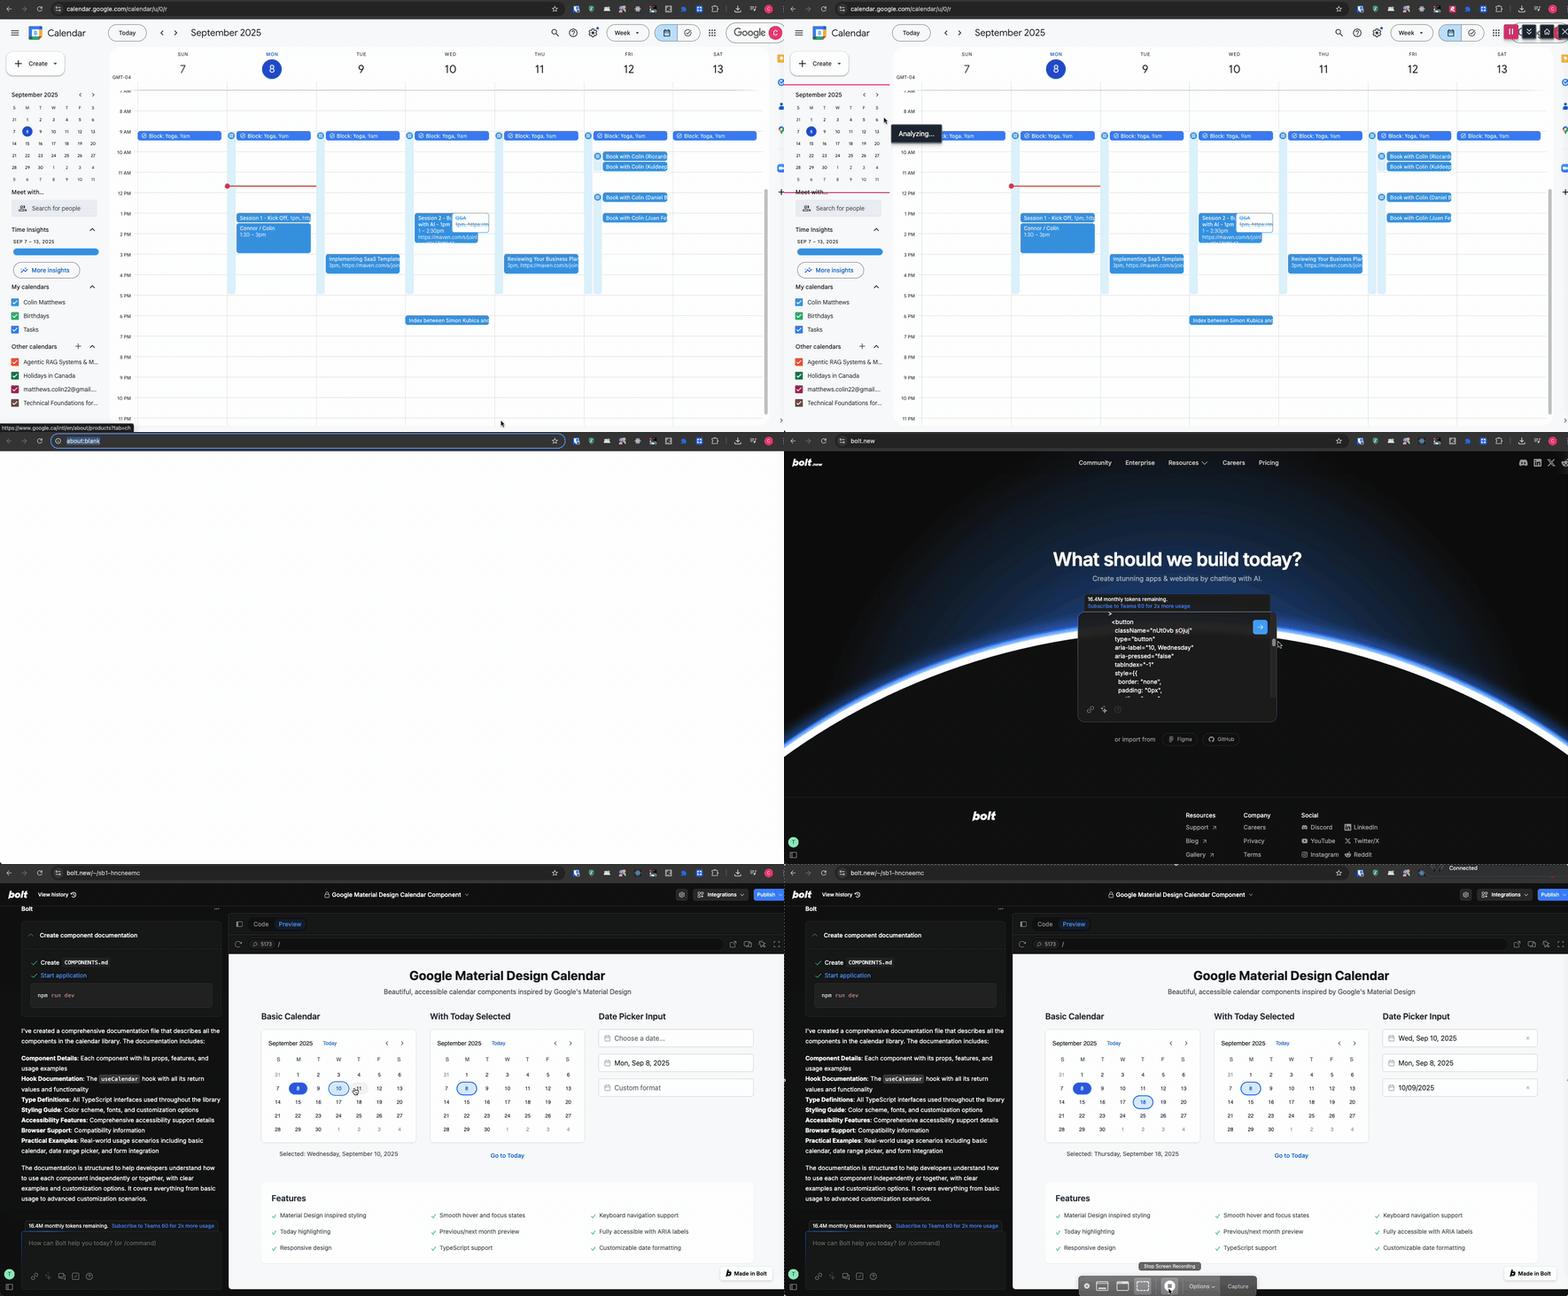
Chrome extensions offer more precision by extracting actual HTML and CSS from live pages. This method produces higher-fidelity components but consumes more tokens due to larger input sizes. Some tools include React HTML Extension and the Magic Patterns Chrome Extension.
How it works:
Install a component extraction extension
Navigate to your product
Click on UI elements to extract their code
Paste the extracted HTML into your AI tool
The AI converts raw HTML into clean, reusable components
Pasting in extracted code eats up tokens much faster than screenshots or plain text, so be prepared to spend your monthly allotment just on setting up your component library. Remember that duplicating or forking the library copies all your components automatically, so this is a one time setup expense.
You’ll have better luck on websites that use common styling libraries like tailwindcss. If you have custom CSS classes with external dependencies, don’t expect this method to work that well.
Method 3: Using Production Components
The most sophisticated approach uses your actual production components. This requires engineering support but produces the most accurate prototypes. You’re likely a good fit if your team is using Storybook and is comfortable with Github.
How it works:
Create a components-only repository
Work with engineering to isolate frontend components
Remove all backend dependencies
Include only UI components and their styles
Import to your prototyping tool
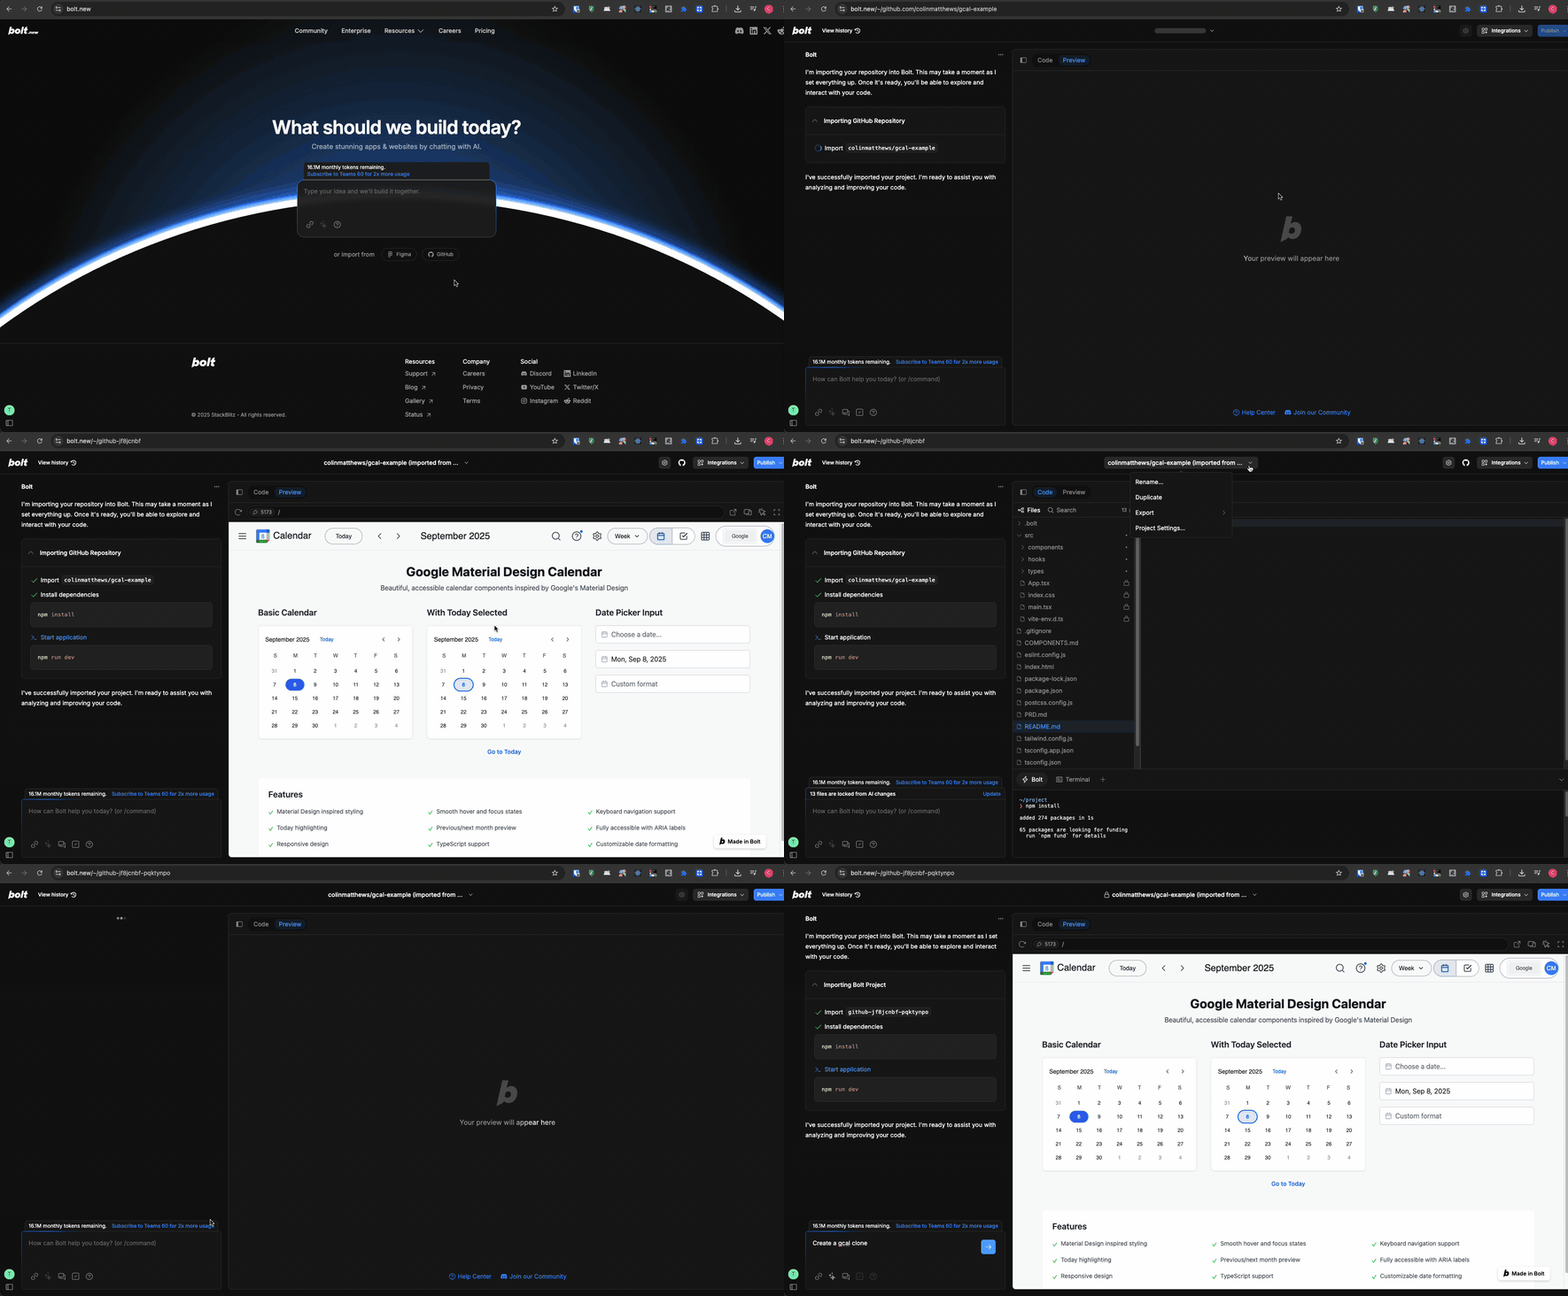
Connect your GitHub repo to tools like Bolt
Lock all files to prevent accidental modifications
Create a duplicate (this breaks the GitHub sync)
Build with real components in your duplicate
Use your actual component library for prototyping
Maintain perfect visual consistency
Share prototypes that look production-ready
If your component library is fairly large (50+ files), cloud-based tools may struggle. You may want to use local development tools like Cursor or Claude Code instead. These tools are harder to set up but excel at making changes to larger projects.
The components.md pattern
One unexpected problem is that AI prototyping tools don’t always choose to use your components even if you have them available in the same project. Or, they don’t know how to use your components and frequently cause errors.
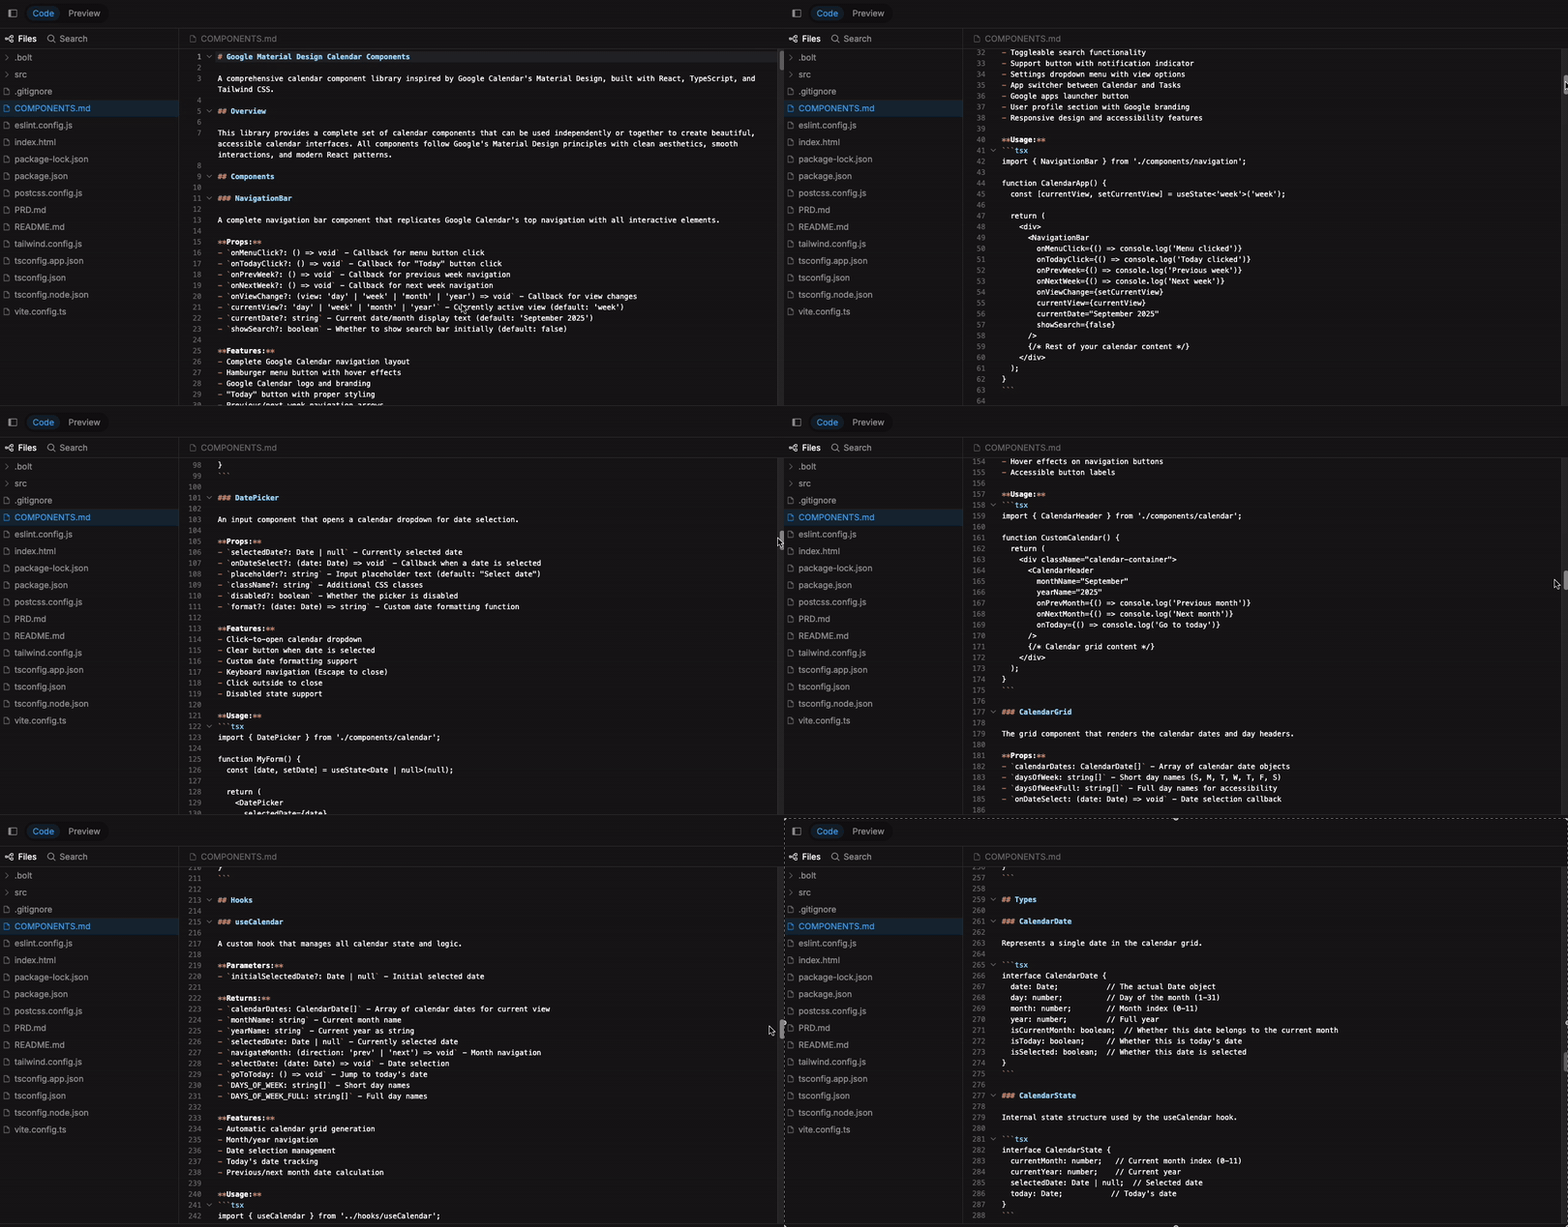
I like to solve this with a components.md file. It’s just a text document that describes what each component is, what it’s props are, and how it should be used. This can be generated by AI. When prompting, tell your preferred AI tool to read the components.md file for guidance on interacting with your code. This allows the AI to understand each component without having to read every file.
Choosing the Right Approach
Picking the right approach to components can feel daunting, but you can always upgrade later.
Start with screenshots if:
You're just beginning with AI prototyping
Your design system is relatively simple
You need quick results without engineering support
Use Chrome extensions when:
You need higher fidelity than screenshots provide
You're building a one-time component library
Token costs aren't a primary concern
Graduate to production components when:
Your team regularly uses AI for prototyping
You have engineering resources to help
Perfect visual consistency is critical
Putting It All Together
Building a component library for AI prototyping is an investment that pays dividends. While the initial setup takes time - anywhere from 20 minutes for screenshots to a few hours for production components - you'll save countless hours on future prototypes.
The key is choosing the right approach for your team's maturity level. Most teams naturally progress from screenshots to Chrome extensions to production components as they become more sophisticated with AI prototyping.
Remember: the goal isn't perfection on the first try. Start simple, iterate based on what you learn, and gradually build a library that lets you prototype at the speed of thought while maintaining your product's visual identity. That's how you turn AI prototyping from a neat demo into a core part of your product development process.


